Your go-to guide for a quick, hassle-free urinal installation that ensures proper drainage every time.
As a plumber, you know how important it is to get every installation right the first time. Whether it’s for a busy commercial bathroom or a client looking for a quick upgrade, the process needs to be efficient, reliable, and hassle-free. This step-by-step guide is here to help you navigate through installing a urinal with ease. With Lecico’s quality products and your expertise, you can ensure a smooth, leak-free installation that keeps your clients happy. Let’s dive in and get the job done right.Step 1: Gather Your Tools and Materials
Before you begin, make sure you have all the required tools and materials for the installation. This will vary depending on the type of urinal and the supplier, so double-check if specific instructions accompany the urinal you’ve purchased. Generally, you will need the following items:- Urinal unit
- Mounting hardware
- PVC pipes
- Bottle trap (for drainage)
- Pipe wrench and adjustable wrench
- Measuring tape
- Spirit level
- Plumber’s tape
- Silicone sealant.
Step 2: Prepare the Installation Site
- Turn Off the Water Supply: Make sure you’ve turned off the water supply to the bathroom or specific plumbing system. This prevents accidental leaks during installation.
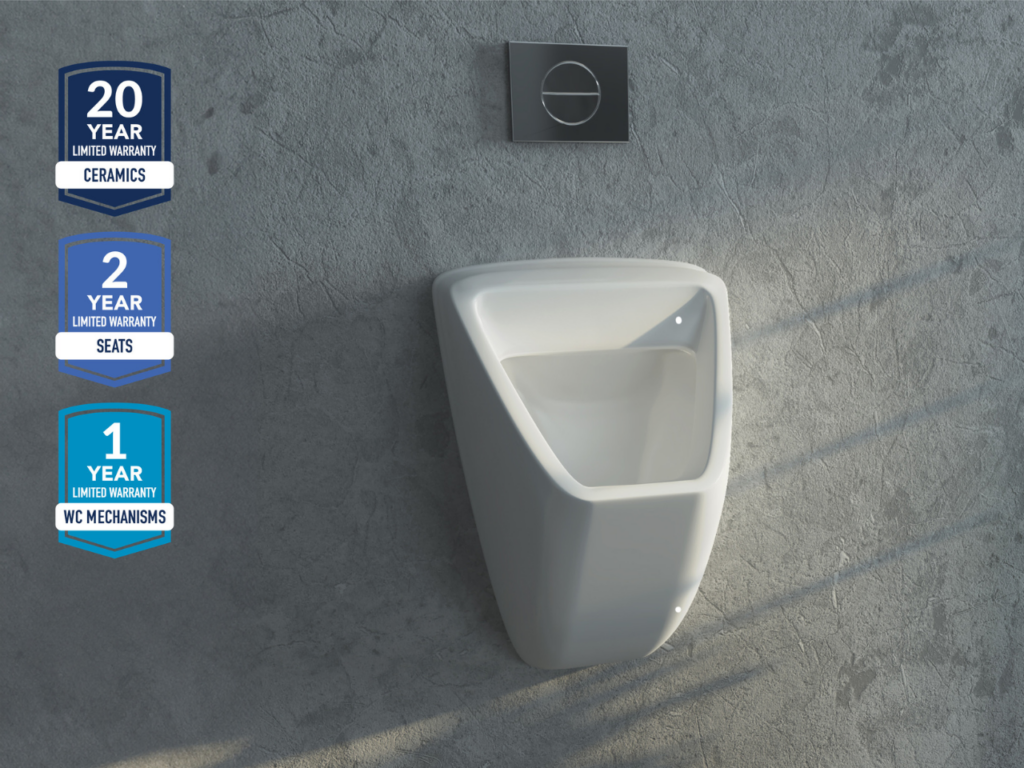
- Determine the Height: This will vary depending on the type of urinal. For example, Lecico’s GEO Back-Entry urinal measures 557mm in height, while BS 50 urinal measures 500mm in height. You’ll need to measure and mark the height on the wall where the urinal will be mounted.
- Mark Mounting Points: Using the urinal as a guide, mark the exact points on the wall where the mounting brackets or bolts will be attached. Double-check measurements to make sure the urinal will be level.
Step 3: Install the Mounting Brackets
Carefully drill holes into the wall at the marked points using a power drill. Make sure the wall can support the weight of the urinal, especially if it’s a heavy-duty unit. Next, secure the urinal’s mounting brackets or bolts into the drilled holes using the supplied screws. Tighten them with a wrench, but avoid over-tightening so you don’t damage the wall.Step 4: Install the Drainage System
A bottle trap for a urinal is a type of plumbing fixture that helps prevent foul odours from the drainage system from entering the bathroom. It does this by creating a water seal in the shape of a bottle, which traps water inside to block sewer gases. Unlike traditional P-traps, which have a curved pipe, bottle traps are more compact, making them ideal for urinals and places where space is limited. Attach the trap to the urinal’s drainage outlet and connect it to the main drain pipe using PVC pipes. Remember to check that all connections are tight and properly sealed with plumber’s tape. Before proceeding, pour a small amount of water into the urinal to test the drainage system. Ensure that the water flows smoothly into the drain without any leaks.Step 5: Connect the Water Supply
Depending on the urinal type, you must install a manual flush valve or an automatic sensor system. We recommend following the manufacturer’s instructions for proper installation. Secondly, attach the water supply line to the flush valve or sensor system. You can use plumber’s tape to seal the threads and tighten the connection with an adjustable wrench.Step 6: Secure the Urinal to the Wall
Carefully lift the urinal and place it onto the installed mounting brackets or bolts. Secure it with the supplied nuts and washers, tightening them firmly. Then, use a spirit level to ensure the urinal is perfectly horizontal. Adjust the mounting if necessary before securing it fully.Step 7: Seal the Edges
To prevent water from leaking behind the urinal, apply a bead of silicone sealant around the edges where the urinal meets the wall. This will also help to prevent mould growth and improve the overall hygiene of the installation.=Step 8: Turn On the Water Supply and Test
Once everything is secured and connected, turn the water supply back on. Test the urinal by flushing it multiple times to ensure there are no leaks, and the water flows properly.Top Tips for Urinal Installation
 Double-Check Water Pressure
Before installation, ensure that the water pressure is adequate for the flush system you’re using. Low pressure can lead to inefficient flushing, which might cause issues for your client later.
Double-Check Water Pressure
Before installation, ensure that the water pressure is adequate for the flush system you’re using. Low pressure can lead to inefficient flushing, which might cause issues for your client later.Use Quality Sealants
When sealing the edges of the urinal or plumbing connections, opt for high-quality silicone sealants. A good sealant ensures a watertight finish and prevents leaks or moisture build-up that could lead to mould or structural damage. Avoid putty at all costs. Ensure Proper Alignment Even small misalignments during the installation can lead to functional problems. Use a spirit level when mounting the urinal and attaching the water supply lines and drainage components to ensure everything is aligned and stable. Pre-Install Mockup Before fully securing the urinal, place all components where needed to ensure the setup works smoothly. This step can save you time by helping you identify any fitting issues before drilling or permanently securing parts. Follow Local Plumbing Codes Always stay up to date with the local plumbing codes and regulations to ensure your installation meets safety and performance standards. This will prevent inspection issues and deliver long-term durability for your clients. Keep Spare Parts Handy During urinal installation, keep extra washers, nuts, and seals on hand. This ensures you’re not caught off-guard by a damaged or missing component, and the job can be completed smoothly without unnecessary delays. Test the System Multiple Times Once the installation is complete, run several flush tests to check for any leaks, blockages, or pressure issues. Fixing small issues immediately will save time on call-backs. And that’s it – your urinal installation is complete! By following these steps, you’ve ensured a solid, professional job that will stand the test of time. With reliable products like Lecico’s and your know-how, you’re all set to keep delivering top-notch service to your clients. If you’re looking for more quality products and helpful installation guides, be sure to check out Lecico’s full range of urinals. Here’s to more smooth installations and satisfied clients.Frequently Asked Questions about Urinal Installation
Is it expensive to install a urinal?
The cost of installing a urinal varies depending on the type of urinal, labour costs, and any additional plumbing work required. Typically, it can range from moderate to high, especially if professional installation is needed. For the prices of all Lecico urinals, please contact your nearest stockist.Can I install a urinal in my house?
Yes, you can install a urinal in your house. However, it requires access to the appropriate plumbing and space, and you may need to ensure compliance with local building codes.How to install a urinal cistern?
- First, secure the cistern to the wall at the appropriate height.
- Second, connect the water supply to the cistern’s inlet valve.
- Third, attach the flush pipe from the cistern to the urinal.
- And lastly, turn on the water and test the flush to ensure proper functioning.


